Ray-Ban Meta
Charging Stand
Smart-Charger for your Smart-Glasses
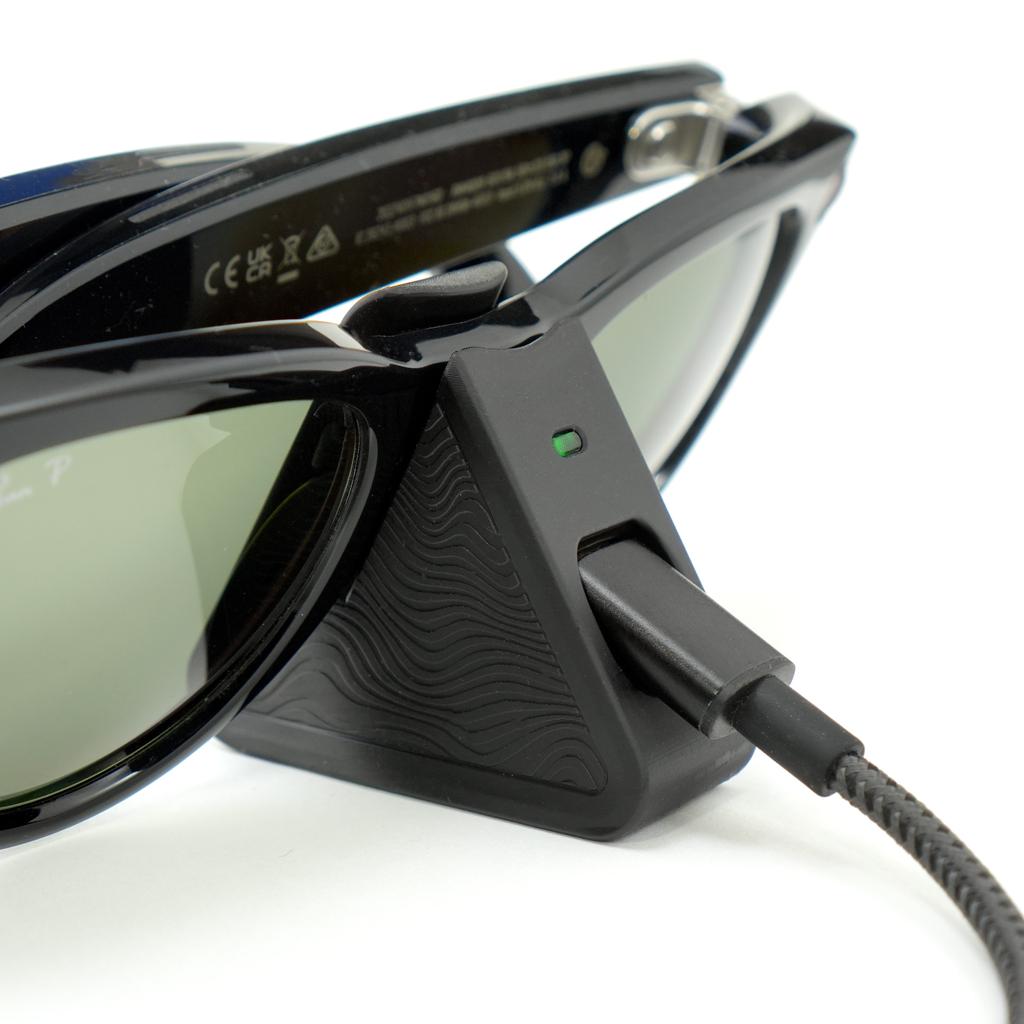
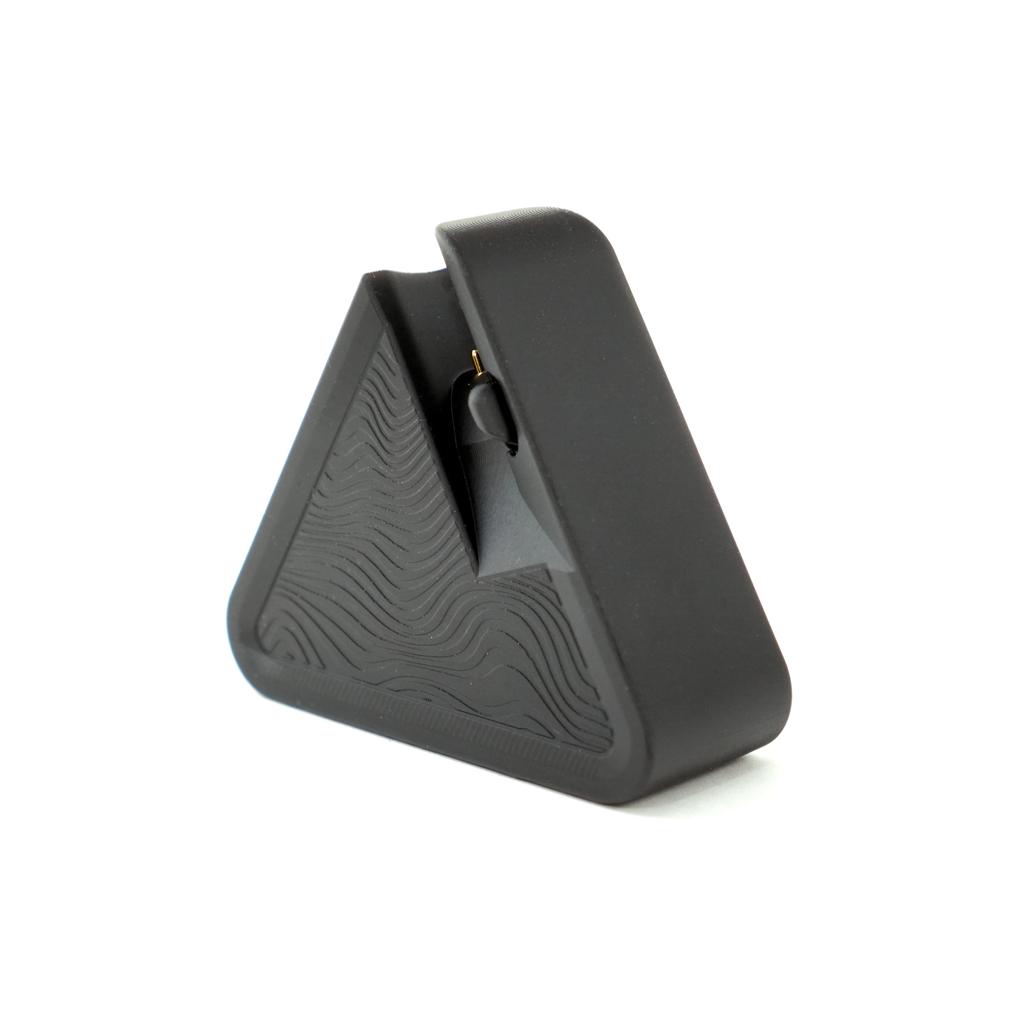
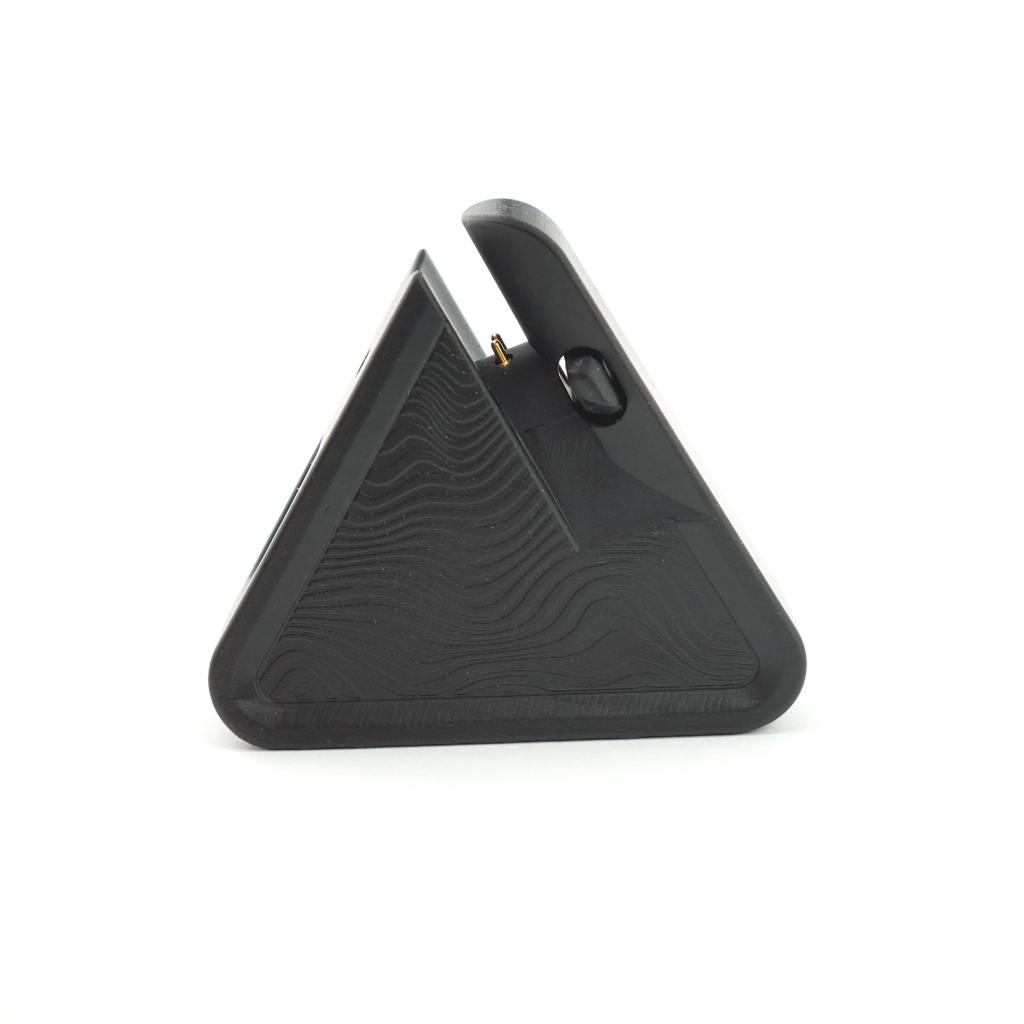
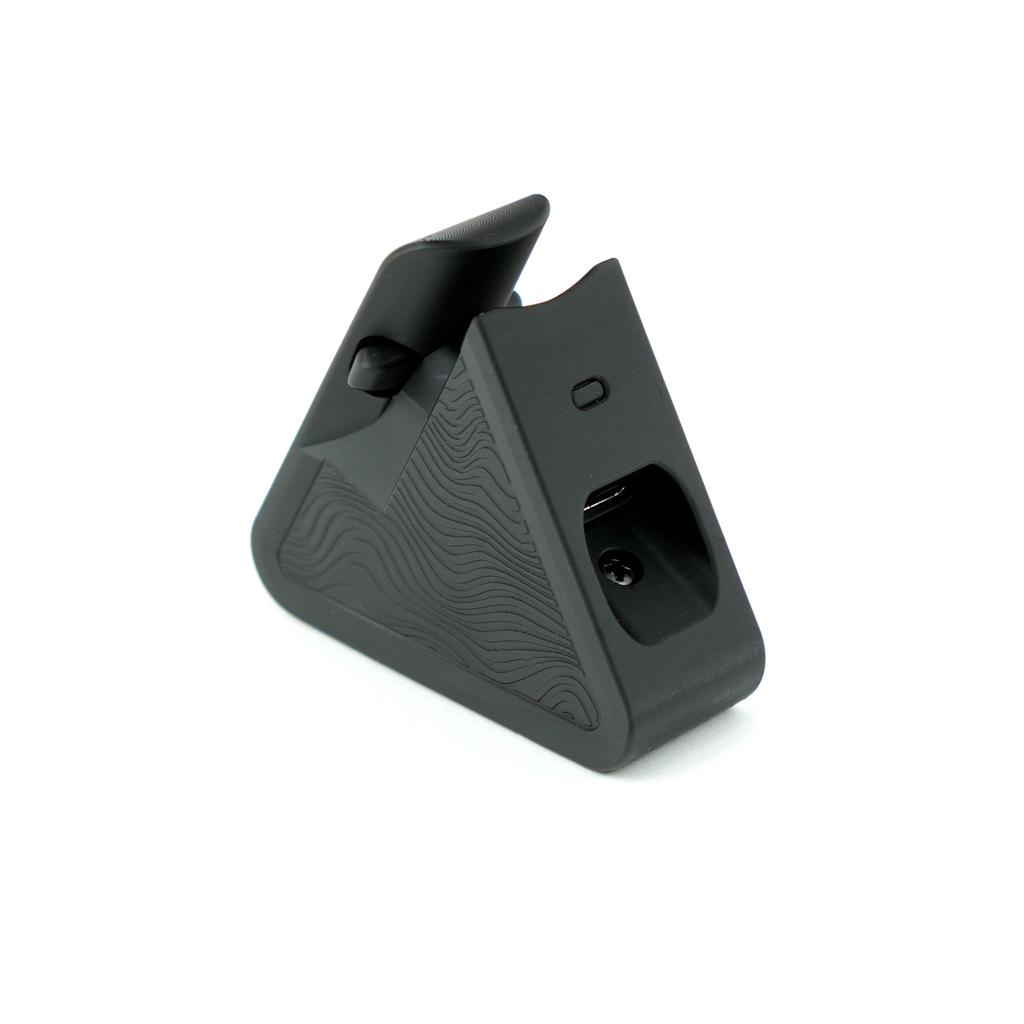
Keep your RayBan Meta Smart Glasses powered up. A charging stand for your desk or your nightstand.
Includes a smart charging circuit to work with most USB Power Banks/Batteries as well as wall chargers and phones with USB-C.
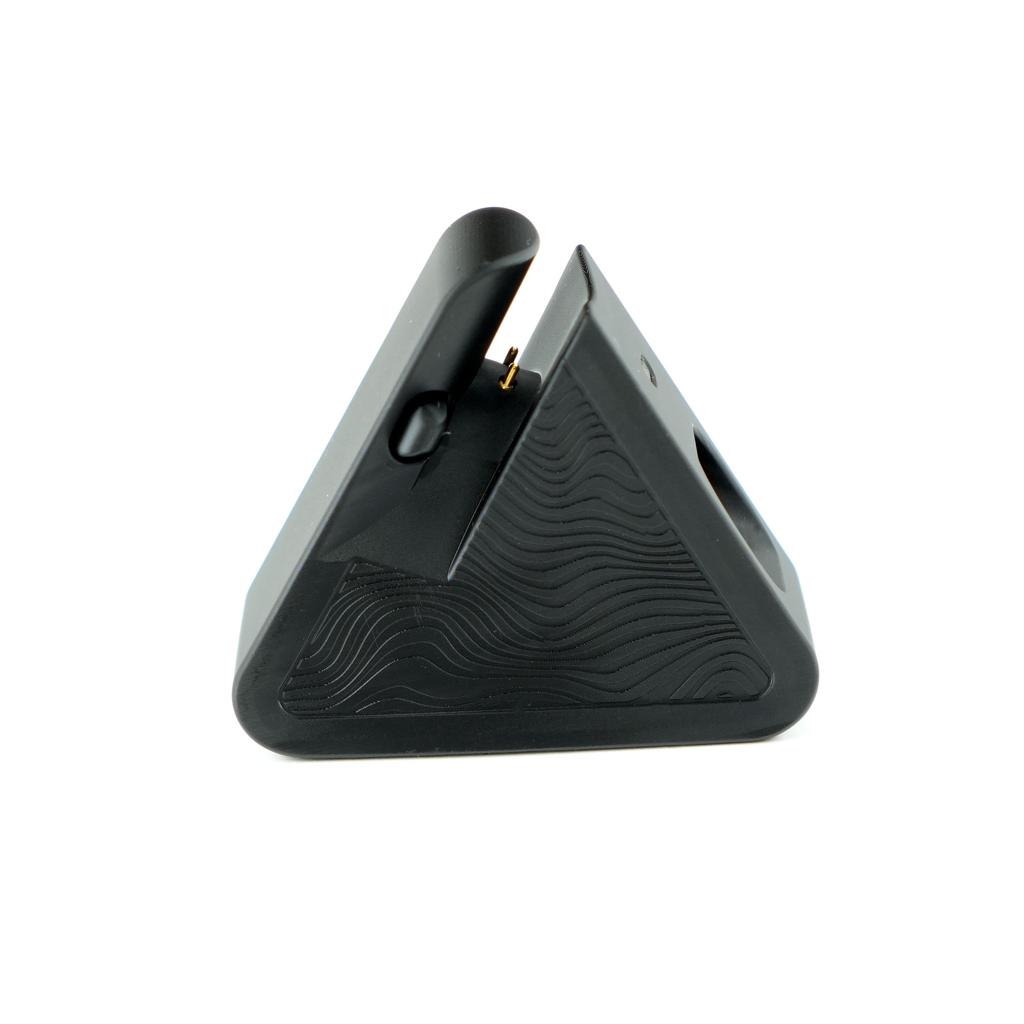
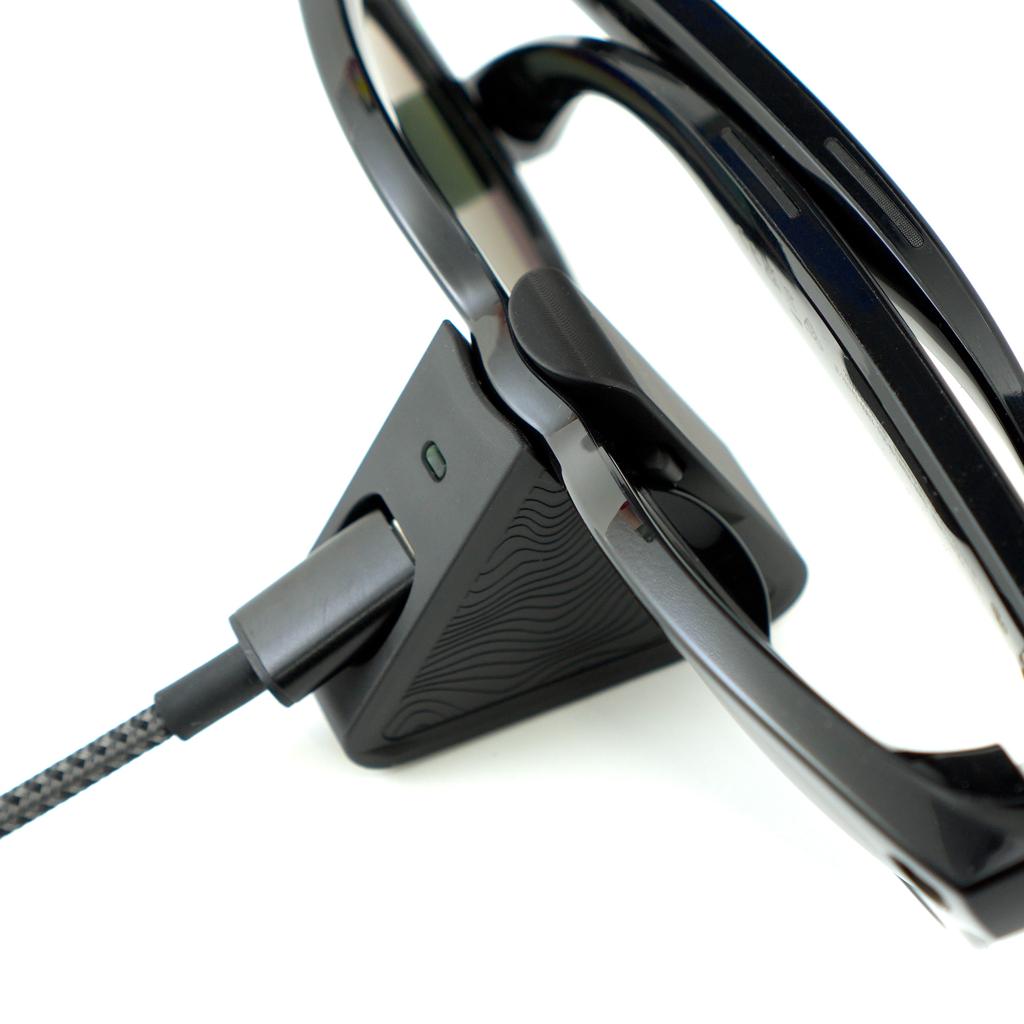
Supported Models
- Ray-Ban Meta Wayfarer (Standard) (50-22-150mm)
- Ray-Ban Meta Wayfarer (Large) (53-22-155mm)
- Ray-Ban Meta Headliner
- Ray-Ban Meta Skyler
Technical Specifications
- USB Type-C, 5V, 1A (cable not included)
Indicator LED
- Pulsing orange: Powered, glasses not detected
- Pulsing green: Charging
- Solid green: Charged
- Blinking red: Short circuit
- Solid red: Glasses detected but not taking charge
FAQ
- Can I pair my glasses without a case Yes! Turn off your glasses, hold down the camera button, while you keep holding the camera button turn the glasses on, keep holding until you see the white pulsating light. Your glasses are now in pairing mode.
- The charging indicator LED on my glasses turns off. Is this normal? The charging indicator LED (green or orange) will turn off after a while, even though it's still charging. Check your charging status in the view app.
When the battery is fully discharged for a longer time, it might take 5-10 minutes for the glasses to show up in the View app. -
Glasses won't charge from my USB battery. Why? Connect to the glasses first, than plug in the USB to the battery. Some batteries will turn off the output if they don't see any power drawn for more than 5-10 seconds.
-
Glasses won't charge Here is a couple of things to try if you have problems charging your glasses
- Use a Wall Charger instead of an USB Battery. Some USB batteries will auto-shutdown if they see very low power draw. The Glasses use very low power and we've noticed that some USB batteries will shut down. Some batteries do have a button to turn them on though. But just in case, to rule out other issues, start with a wall charger if you have issues. We've also found that charging from an iPhone, iPad or MacBook (models with USB-C) and most Android phones with USB-C always works.
- If glasses were fully discharged and left discharged for days, they need a couple of minutes for the charging indicator to appear.
- In rare cases the glasses might need a Force Restart.
- Put the glasses on the charger
- Turn your glasses off with the switch on the left temple(red dot visible).
- Hold the camera button on the right temple
- While holding the camera button, turn the power switch back on
- After 3 seconds, release the camera button.
- If all else fails please contact me (address bellow). Please not though that we can't help in cases where you bought/found glasses without a charger or when the original case won't charge glasses as well. In most cases that indicates a problem with the glasses.
Disclaimers
- Build: Expect a handcrafted feel with this charger. It's sturdy, although not akin to mass-produced units, with potential minor blemishes from the 3D printing process.
- Material: Made from ABS-like 3D printing resin.
- 3-Month Limited Warranty: This product comes with a 3-month limited warranty that covers defects in material or workmanship under normal use. If you need to claim the warranty, simply ship the item back to us, and we will provide a replacement. For warranty support, please drop me a message.
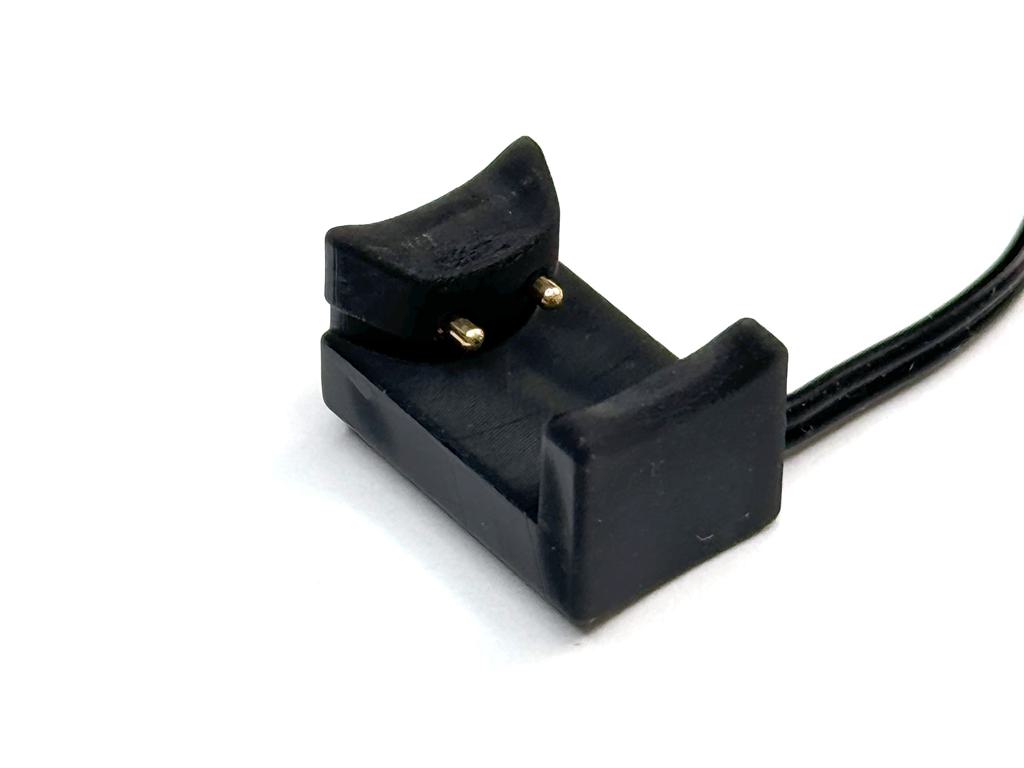 Clip
Clip
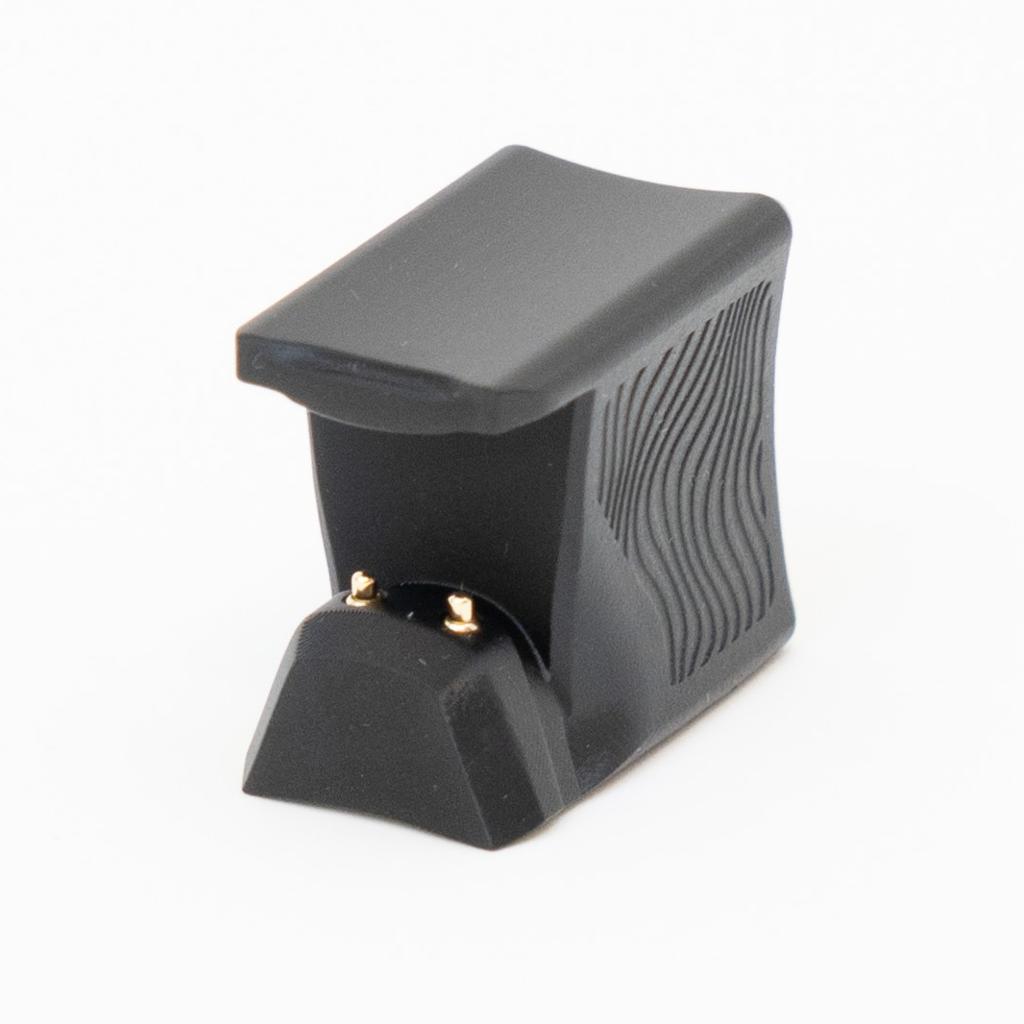 Mini
Mini